
This article is for anyone who isn’t using and has never used version control.
If you’re coding or learning to code, you should absolutely be using version control. Version control allows you to collaborate with other coders, run multiple versions of the same program without copying code, and document the history of your project. Of more immediate concern, it allows you to undo mistakes, all the way back to day one if that’s what you need to do.
Have you ever “ran out of undos” trying to get back to a working version of your code? This article is for you.
We’re going to use Git for version control. You may have heard about Git. You may have taken a look around the Net and ran into bizarre command-line arguments like “blame”, “stash”, and “cherry pick”. You may have found dozens of “introductory” articles that tried to take you from “git init” to “rebasing” your repository (whatever that means) in ten-thousand words.
I promise you, there’s plenty of time for blaming, stashing, cherry picking, and rebasing later. Let’s just get started! Pour a cup, take ten minutes to set things up, and don’t worry about Git again until you’re ready. This is going to be simple, but you’re going to need two things you probably don’t already have:
- a local install of the Git program
- an account on GitHub
Install Git
- If you’re on Windows, install https://gitforwindows.org/, which will install the program “Git Bash” on your computer. Everyone else, just install Git if it’s not already installed.
- Open a terminal (Windows users open “Git Bash”–which is a terminal).
- “cd” to the directory of your coding project. If you’re just starting out, you might have all your code in one directory. That’s fine. “cd” to this directory by entering
cd path/to/my/code
… in the terminal. Stop there for now.
Sign up for an account at github.com
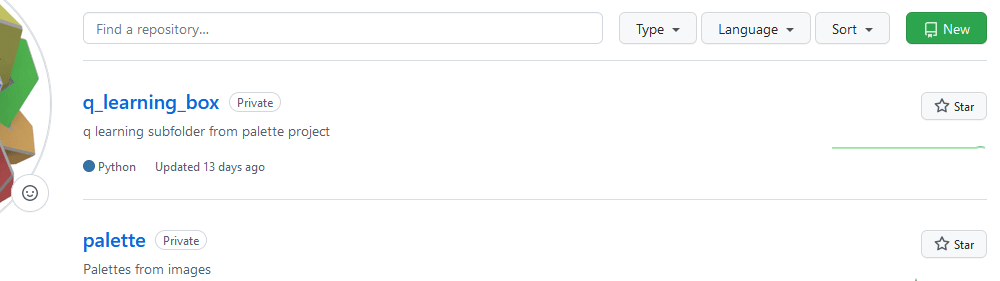
After signing up and logging in, look for a small dropdown in the upper-right corner. Click there and select “Your repositories”.

Now click “New”.
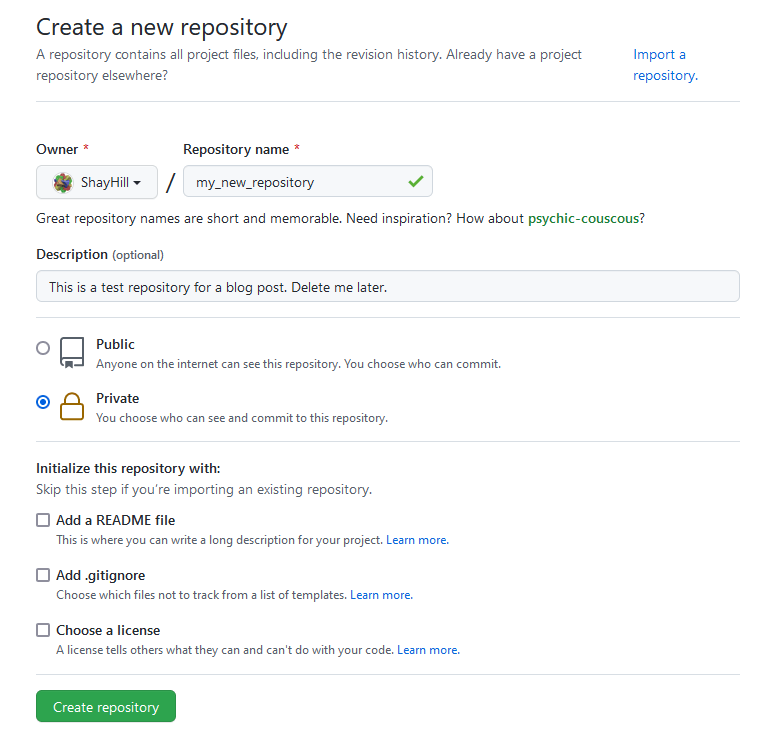
Enter a repository name and description. Select “Private”. Do not “Add a README file”. Do not “Add .gitignore”. Do not “Choose a license”.
The next screen will have a few ways you can setup your repository. We’re interested in “…or create a new repository on the command line”.

Copy that code to your clipboard. There is a copy button in the top-right corner of the code block.
Go back to your terminal, paste the code in, and press enter. Now everything is set up.
Now that everything is set up
Git allows you to set “save points”. Each time you “commit”, you will have a point you can return to later. Now that you’re set up, you’ll just need to make frequent commits. Here’s how:
git status
This will show everything that’s changed since your last commit. You’ll want to add each of these changed files to your next commit.
git add file_1 file_2 file_3 file_4
You can type git status again to make sure you’ve got everything. Then create a new commit.
git commit -m "short message describing changes since last commit"
Now upload the new commit to github so you’ll have access to it anywhere.
git push
Repeat this sequence frequently, and you’ll always be able to get back to a recent, working version of your code if when things go wrong.
How do I get back to a previous commit?
I’ve only covered making commits. I won’t cover restoring you commits, organizing your commits, or merging your commits. All of those topics are easy to find,** but all of them are useless if you don’t have commits to work with*. That was you ten minutes ago. Going forward, you *will have commits to work with. You can’t “learn as you go” until you take the first step, and now you have. What will you accomplish over your next cup of coffee?


